Testing and Results
Note
The MATLAB® instrument driver functions makemid,
midedit, and midtest will be removed
in a future release. Use the ividev interface from the Instrument Control Toolbox™ Support Package for
IVI® and VXIplug&play Drivers instead. For more information, see IVI and VXIplug&play Drivers.
Running All Steps
So far in this chapter, you have only run individual test steps after each was created.
When you run the entire test, all the test steps run in the order listed in the Test Explorer tree. Using the mouse, you may drag the nodes of the tree to alter their sequence.
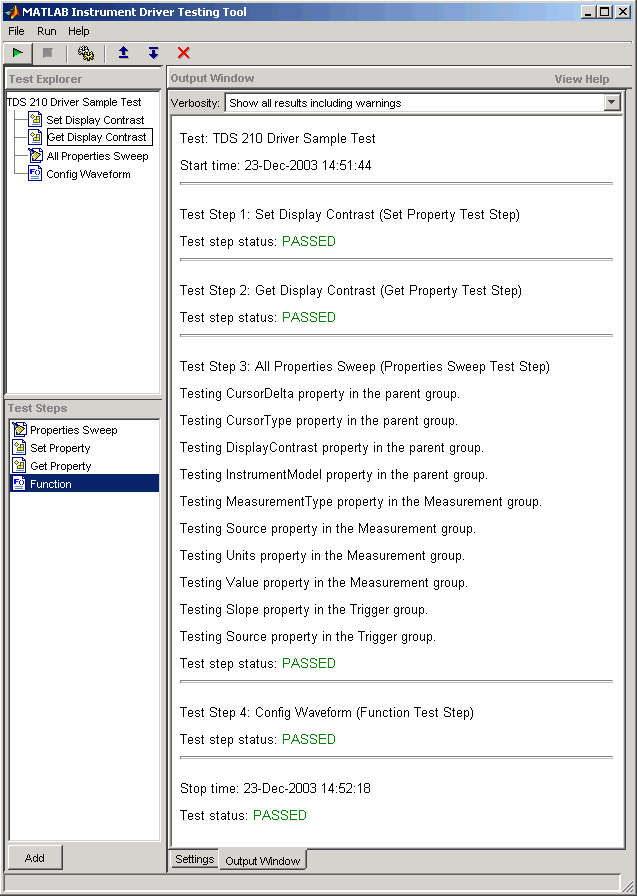
The Output Window displays the results of each step, along with a final result of the complete test.
Running a Complete Test
Select
Get Display Contrastin the Test Explorer tree.In the Select when this step passes field, change the If property value is entry from
80to100.Earlier you entered a value of
80to illustrate what a failure looks like. The display contrast is left at100from theSet Display Contrasttest step, so that is what you will test for in the next step.Click File and select Save.
Click the green arrow button to start a test run.

Partial Testing
Using the context menu in the Test Explorer tree, you can run a partial test of either an individual test step, or from the chosen test step through the end of the test.
Exporting Results
You can export the test results to many locations:
MATLAB workspace
MATLAB figure window
MAT-file
MATLAB Variables editor
The results you can export are those assigned to output variables in the settings for a test step.
Exporting Test Results to the MATLAB Workspace
Click the File menu and select Export Test Results.
In the Test Results Exporter dialog box, select
MATLAB Workspaceas the Data destination.By default, all the variables are selected. You may unselect any.
Click the Export button.

The variables are now available in the MATLAB workspace, with values that were established by the test run.

Saving Results
You save your test results in an HTML file by clicking the File menu and selecting Save Test Results. The format of the results in this file reflects their appearance in the tester tool's Output Window.