Arduino Light Meter Project
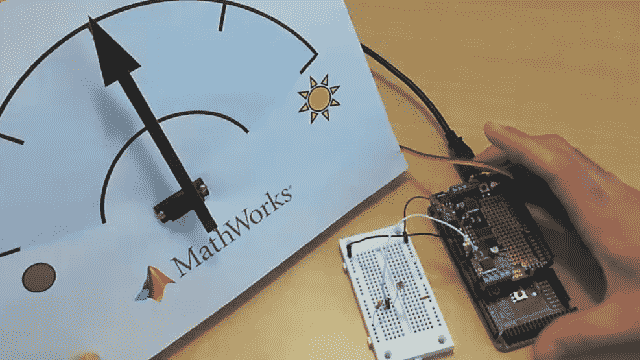
This two-part video series takes you through a complete process of prototyping, exploring, and deploying an algorithm onto an Arduino® board using MATLAB® and Simulink®. In this project, a light sensor measures ambient light, and a servo motor positions a needle on a gauge based on the measured light value.
The first video explores in detail how you can start building Arduino projects with MATLAB Support Package for Arduino Hardware. Start by exploring the inputs and outputs on your Arduino device. Then, design an algorithm in MATLAB to read the Arduino’s inputs and control its outputs based on the logic you specify.
The second part of this two-part video series shows how to take an algorithm developed in MATLAB and program it onto an Arduino board using Simulink. Blocks from Simulink Support Package for Arduino Hardware are used to define the inputs and outputs, and a MATLAB function block is used to incorporate the MATLAB logic that was developed earlier. Running the algorithm on the Arduino in external mode, you can interactively tune parameters of the algorithm. Once the algorithm behaves as expected, you can deploy it to the Arduino with a click of a button. With this approach, the Arduino can run standalone without being connected to a computer, which is useful for a wide range of Arduino projects.
Develop an Algorithm in MATLAB
Explore how you can start building Arduino projects with MATLAB Support Package for Arduino Hardware. Design an algorithm in MATLAB to read your Arduino’s inputs and control its outputs based on the logic you specify.

Program the Device from Simulink
Take an algorithm developed in MATLAB and program it onto an Arduino board using Simulink. It is possible to apply this approach to a wide range of Arduino projects.